News:

Please read the Forum Code of Conduct   >>Click Here <<

Main Menu
Menu

Show posts

This section allows you to view all posts made by this member. Note that you can only see posts made in areas you currently have access to.

Show posts Menu

Messages - Ken Huck

#76
HO / Re: Sheldon's Layout
November 18, 2020, 04:06:06 PM
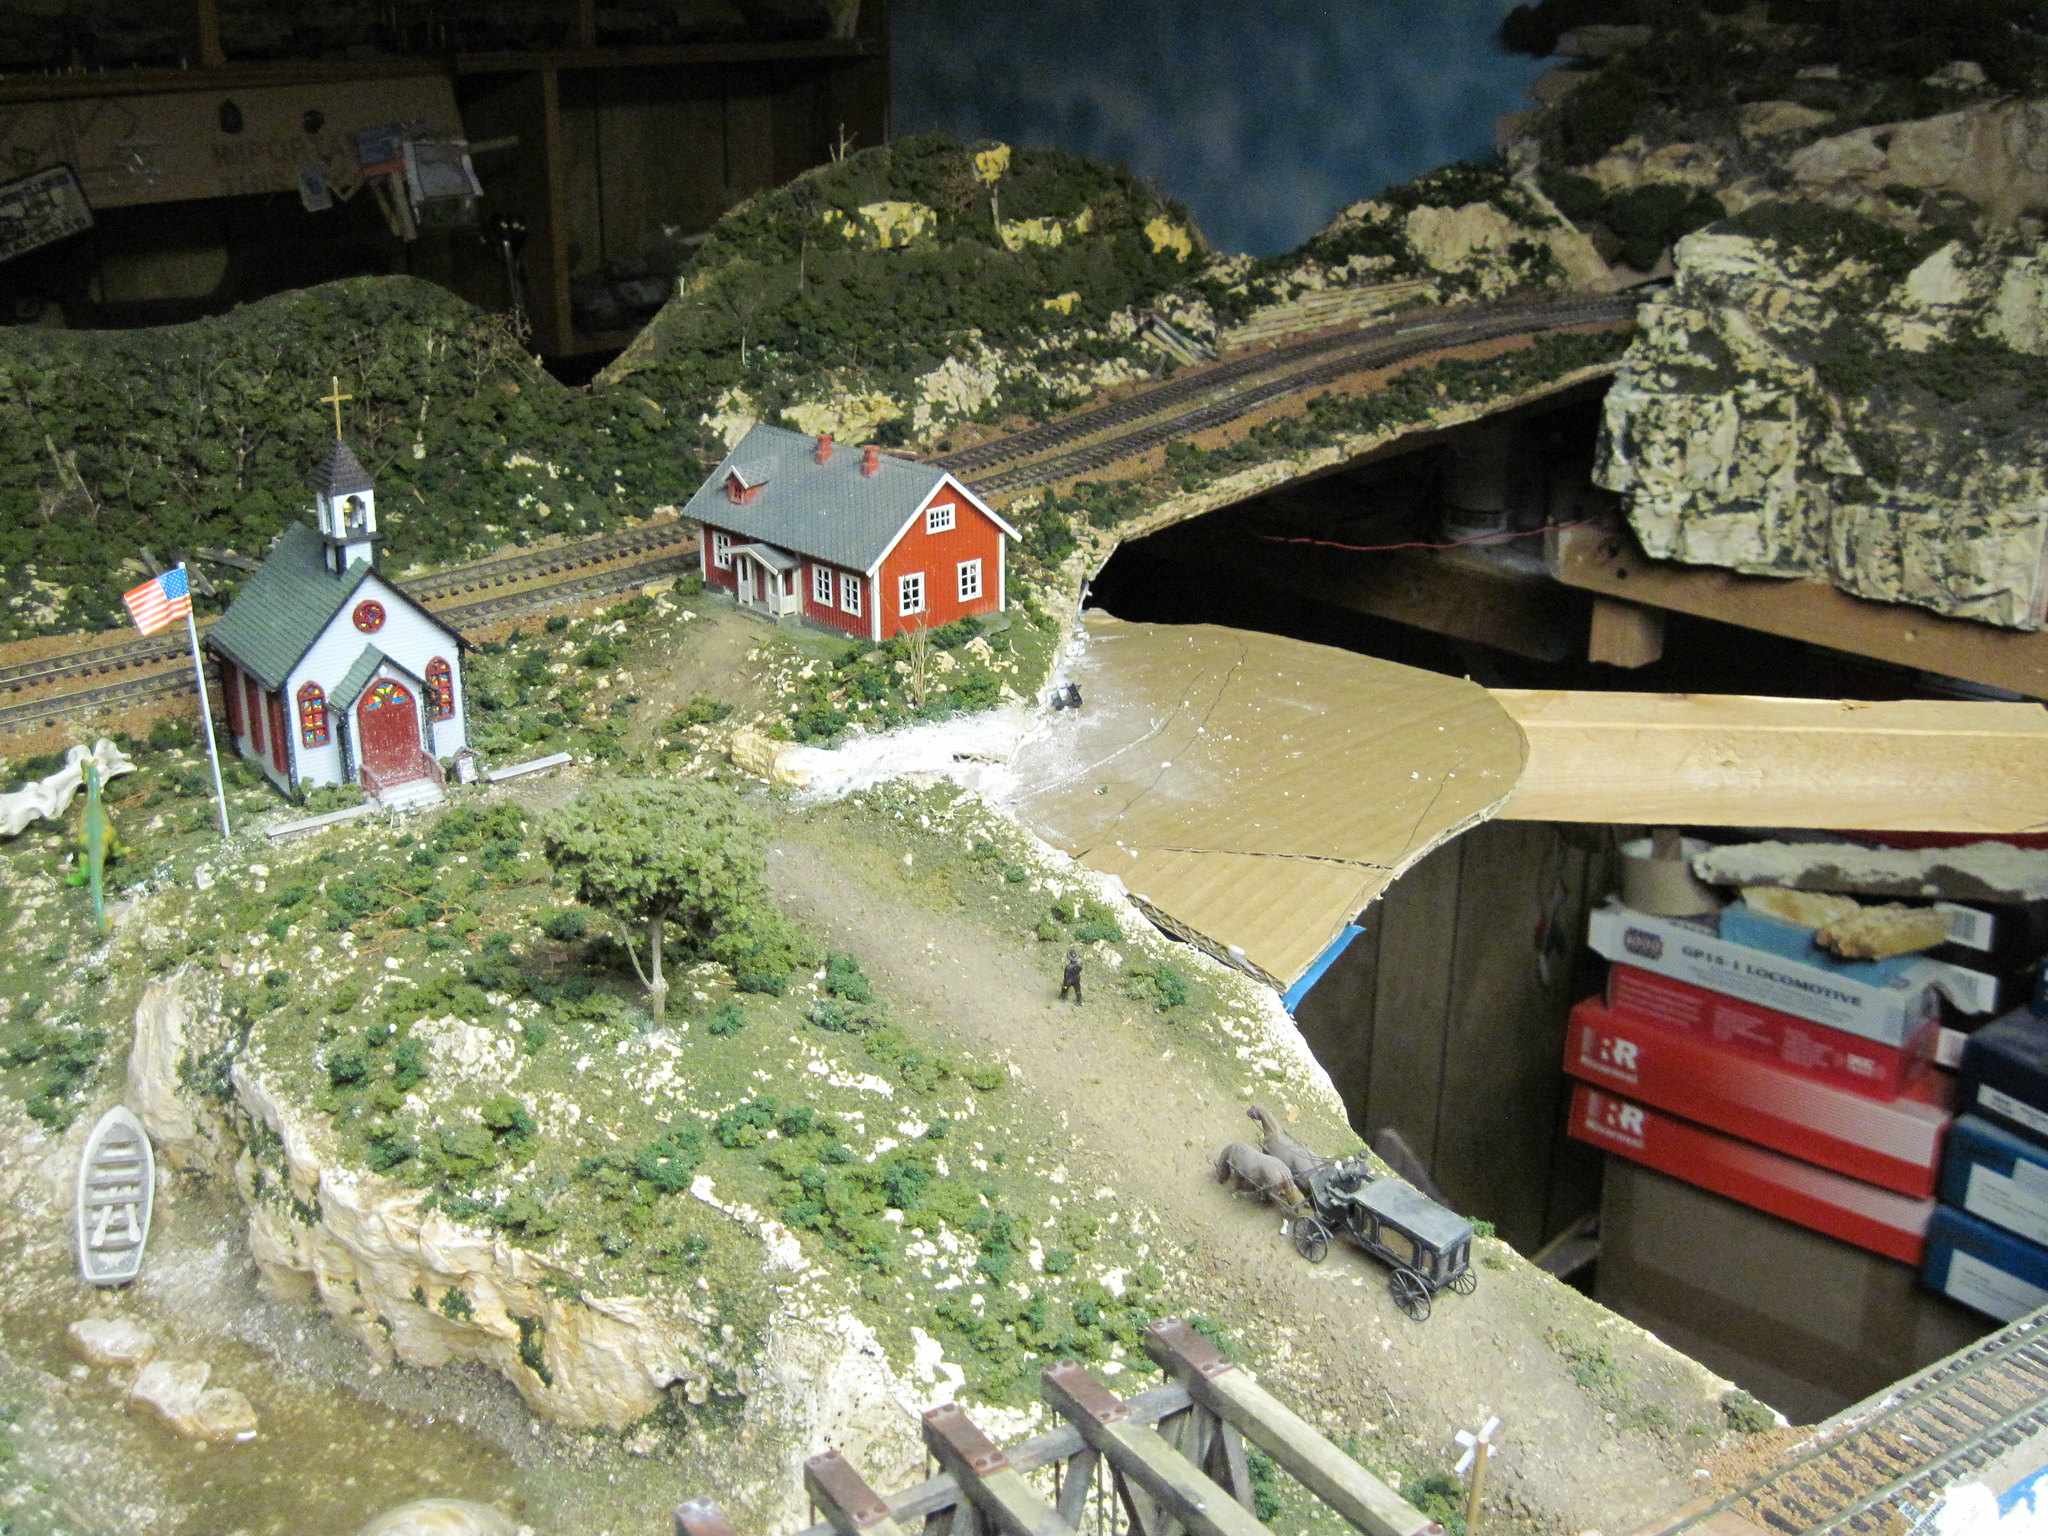
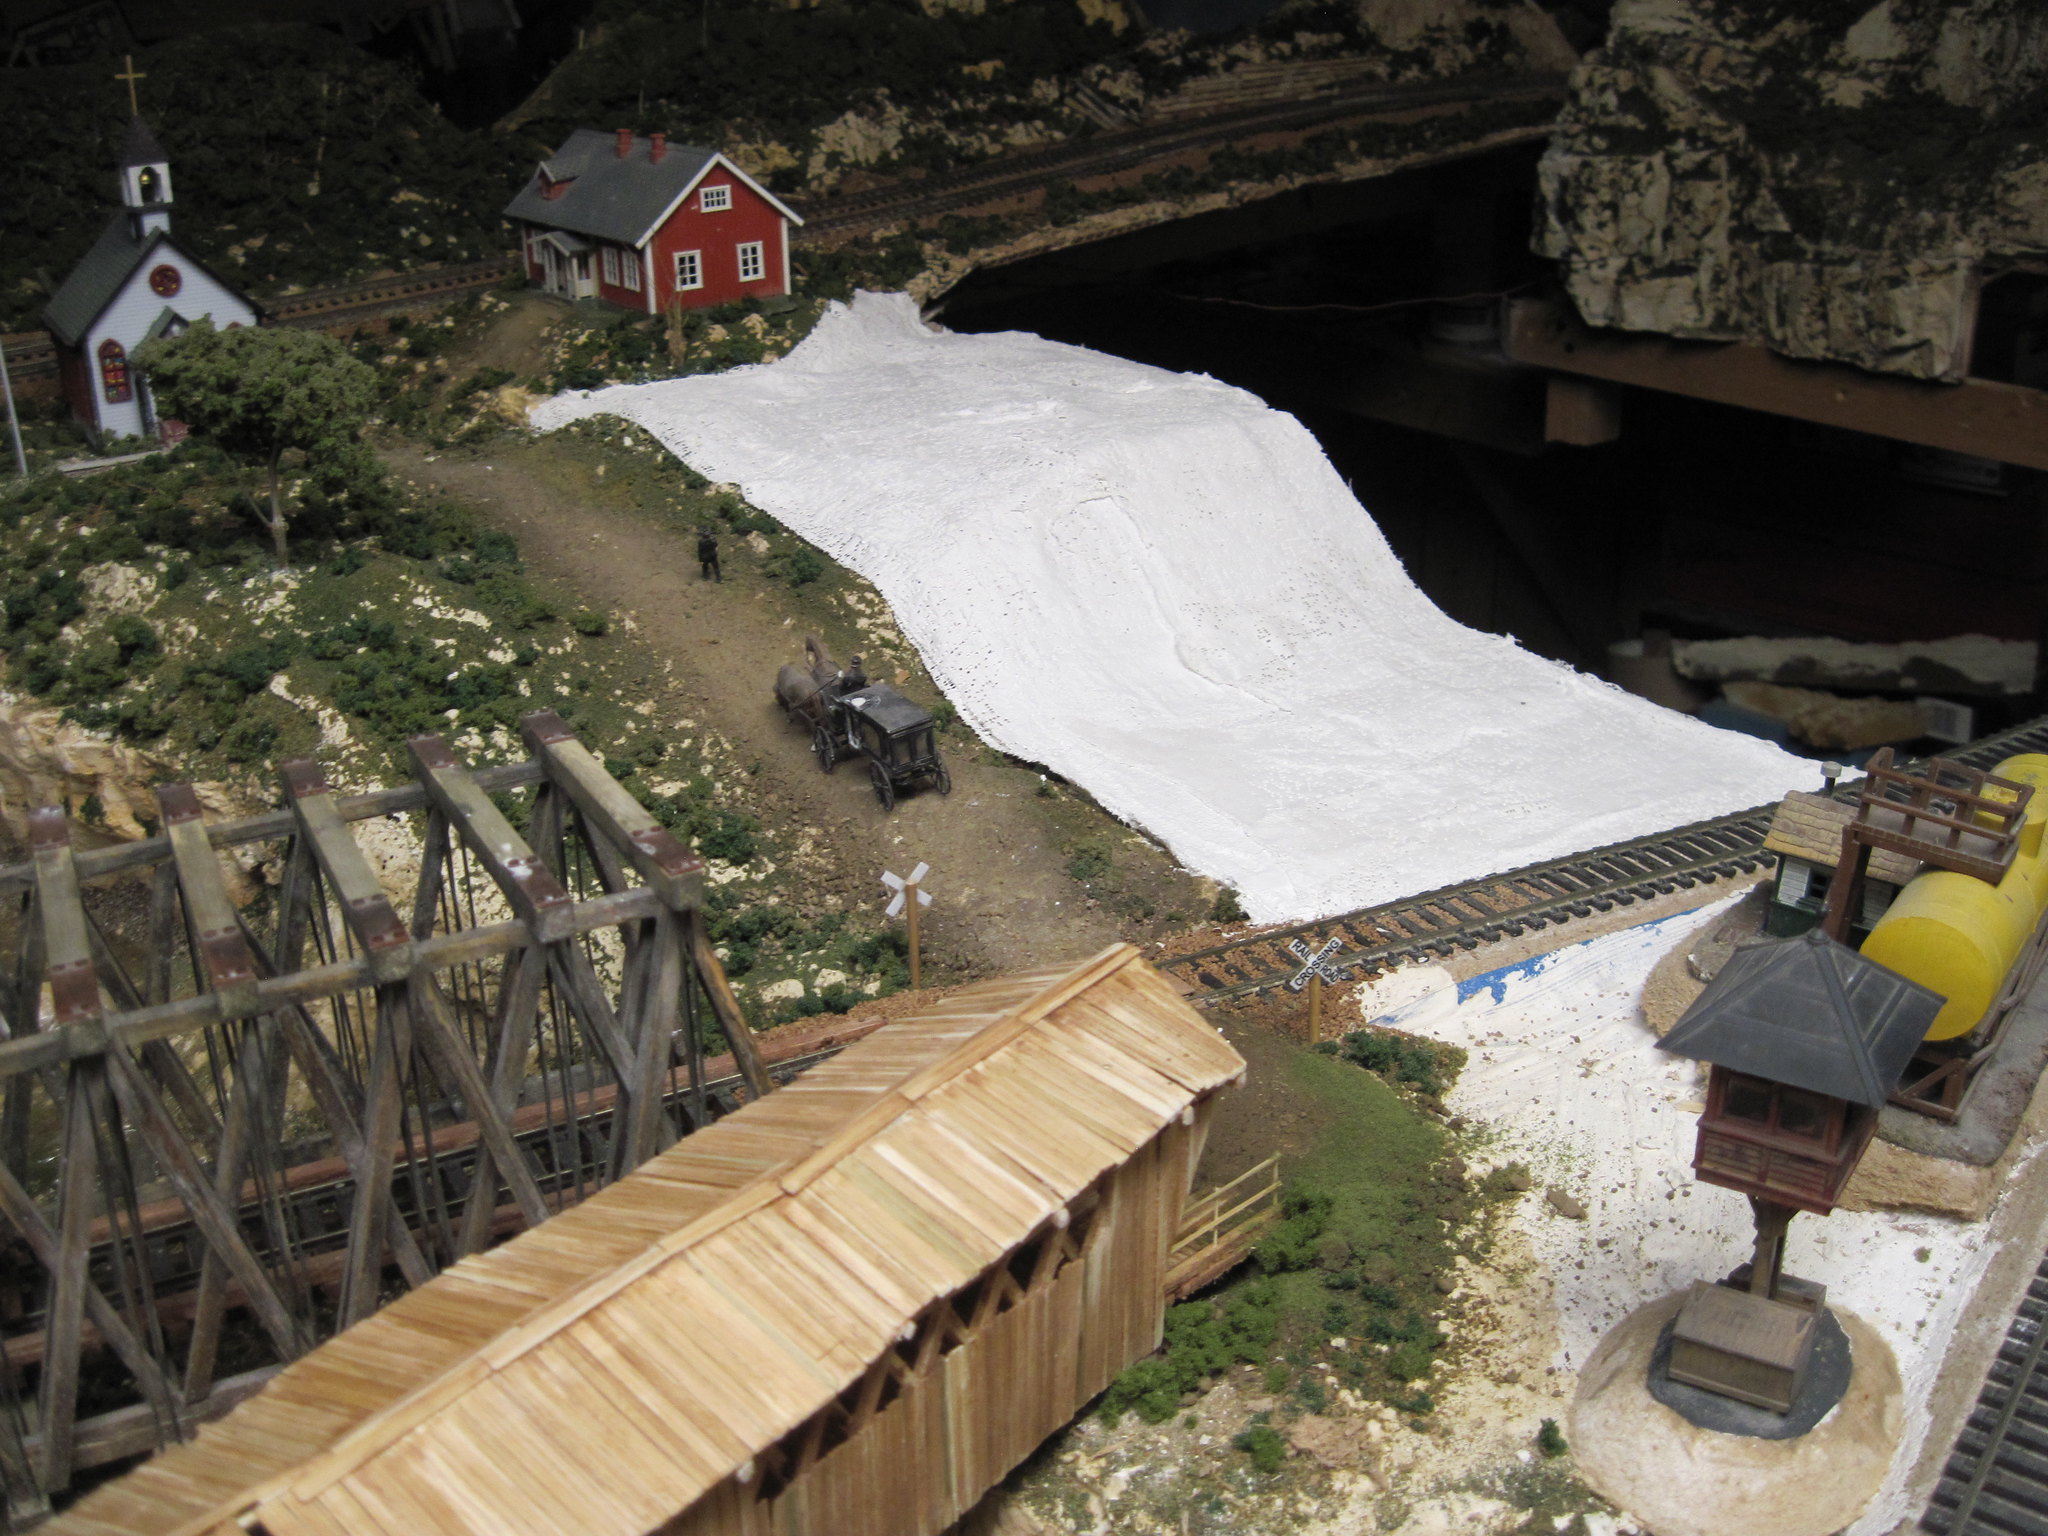
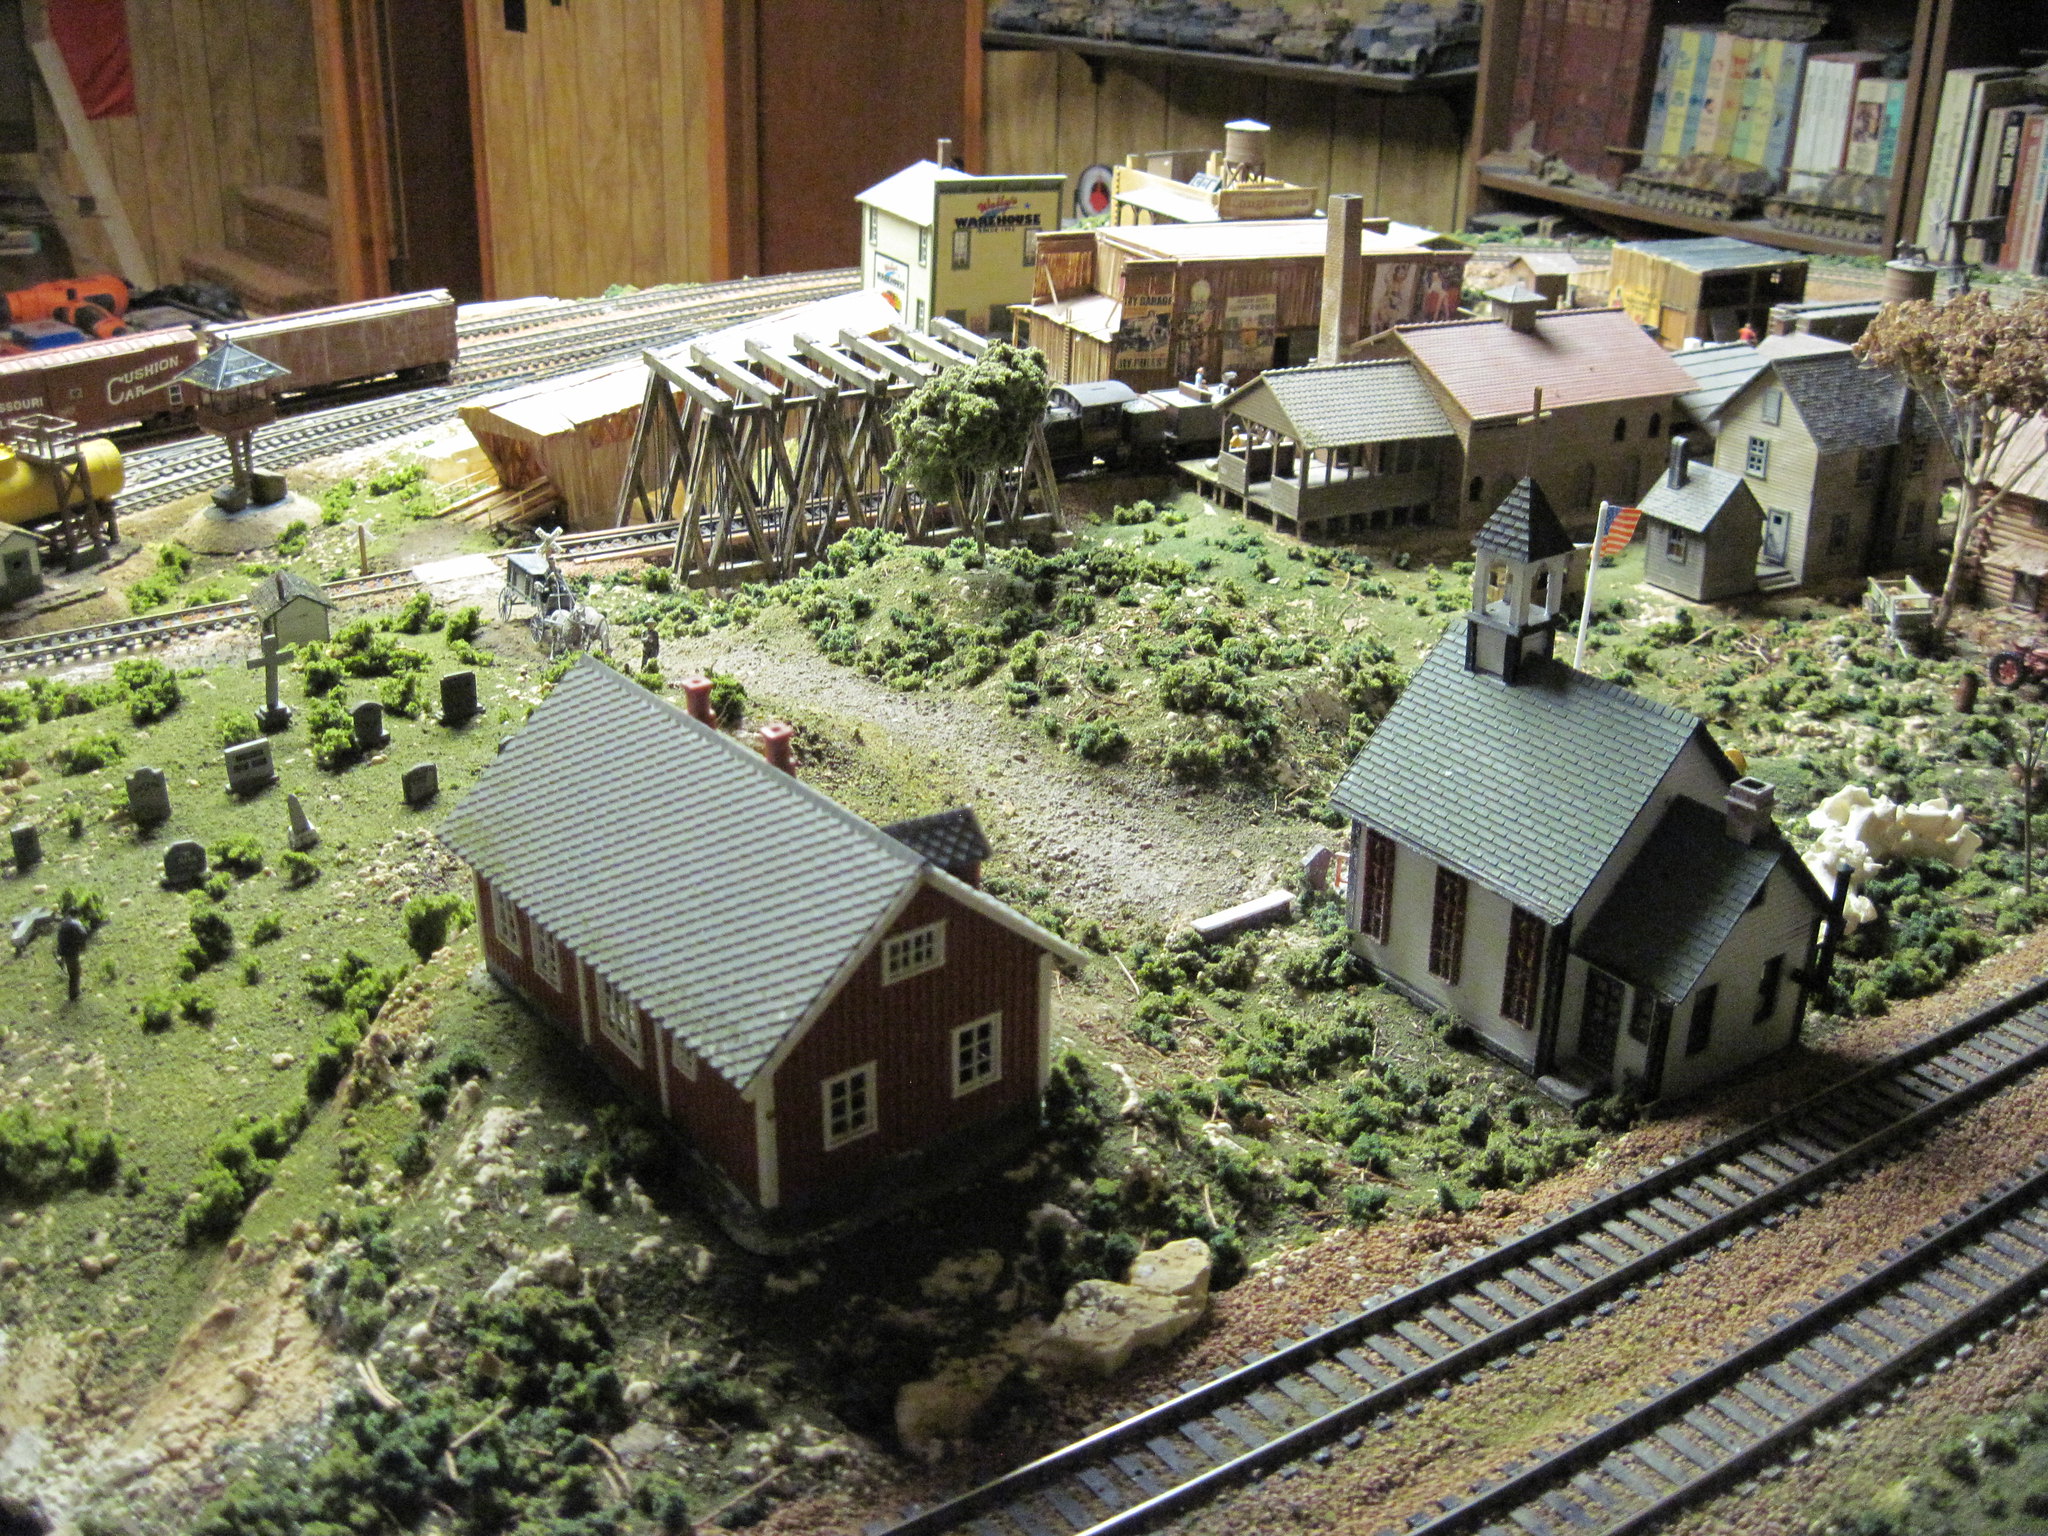
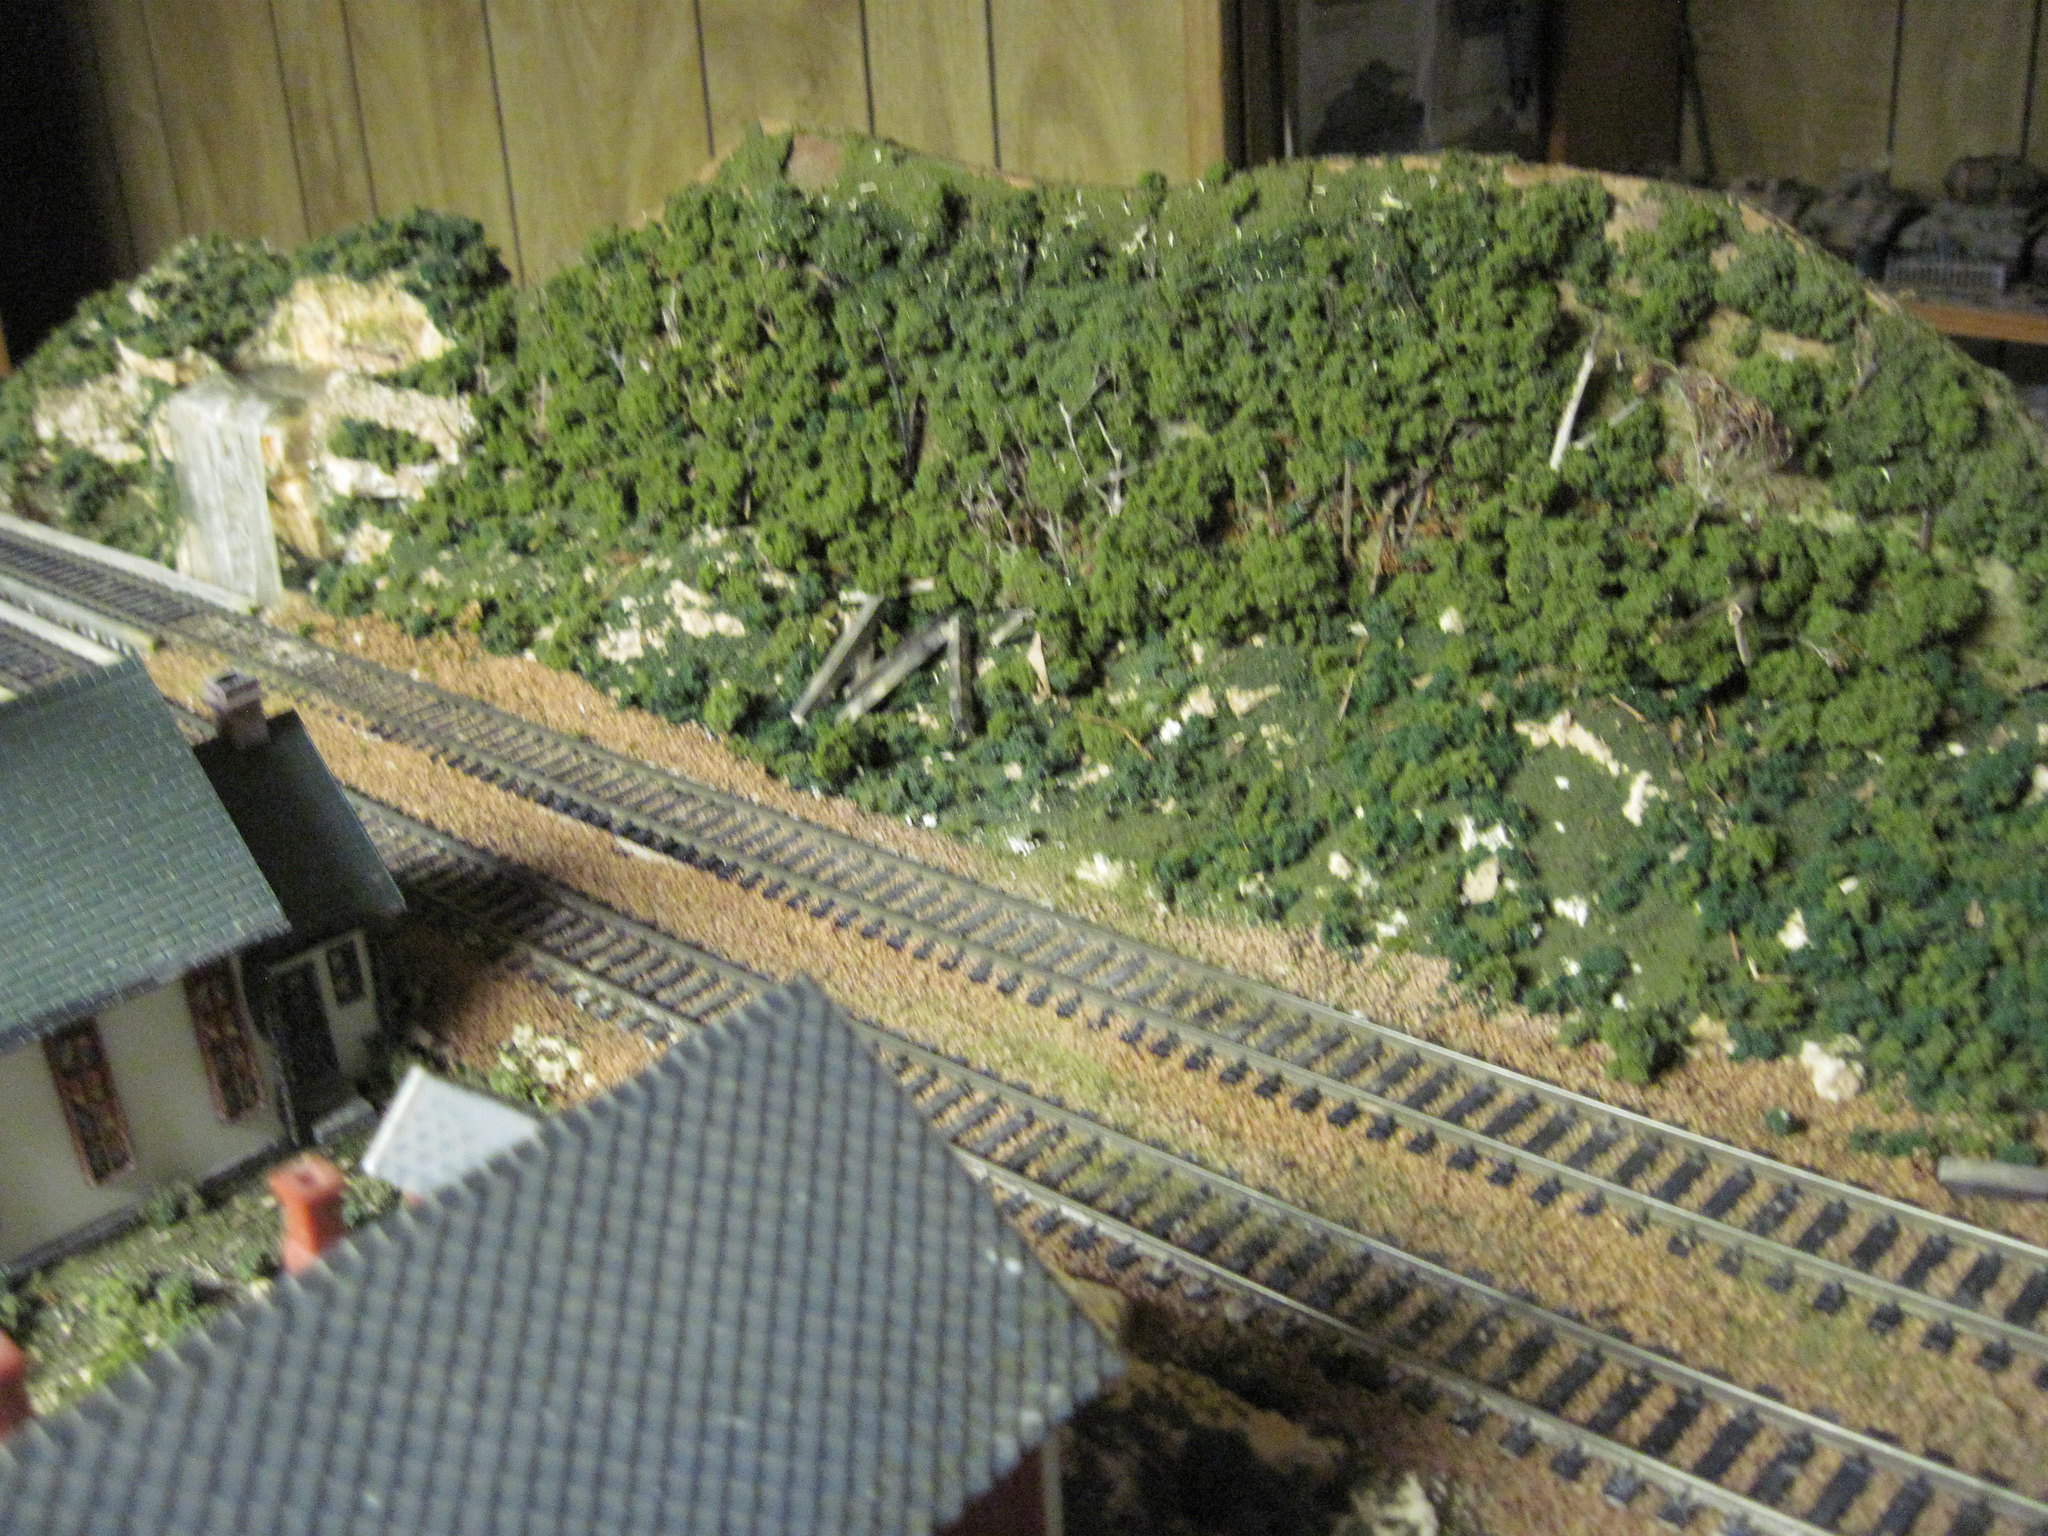
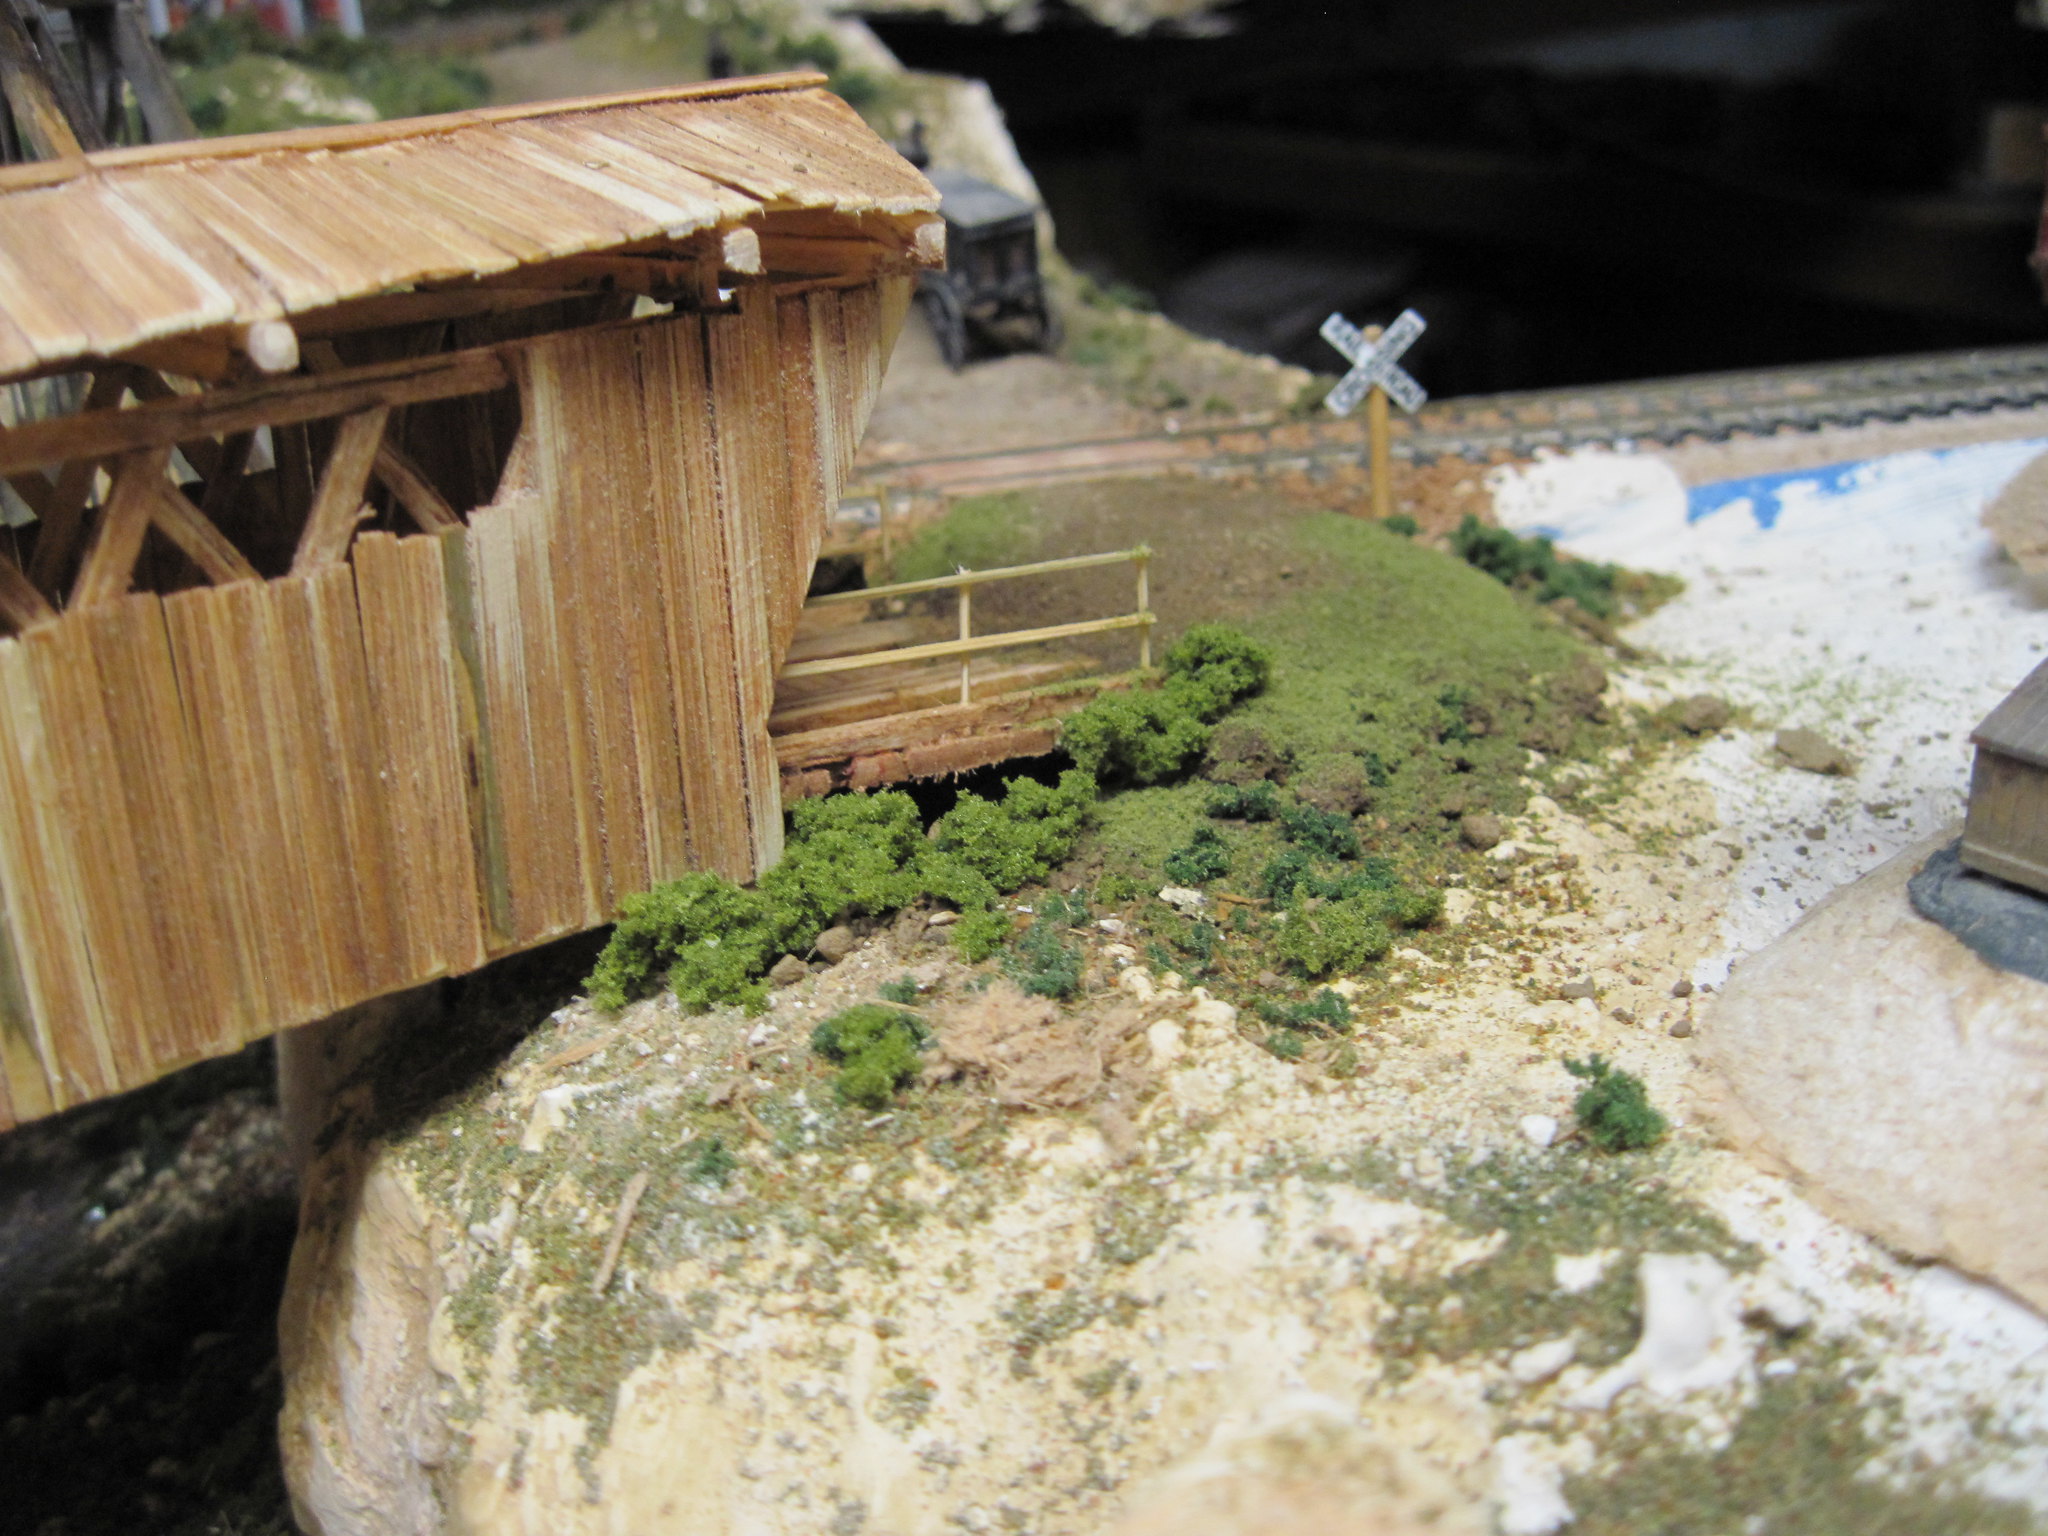
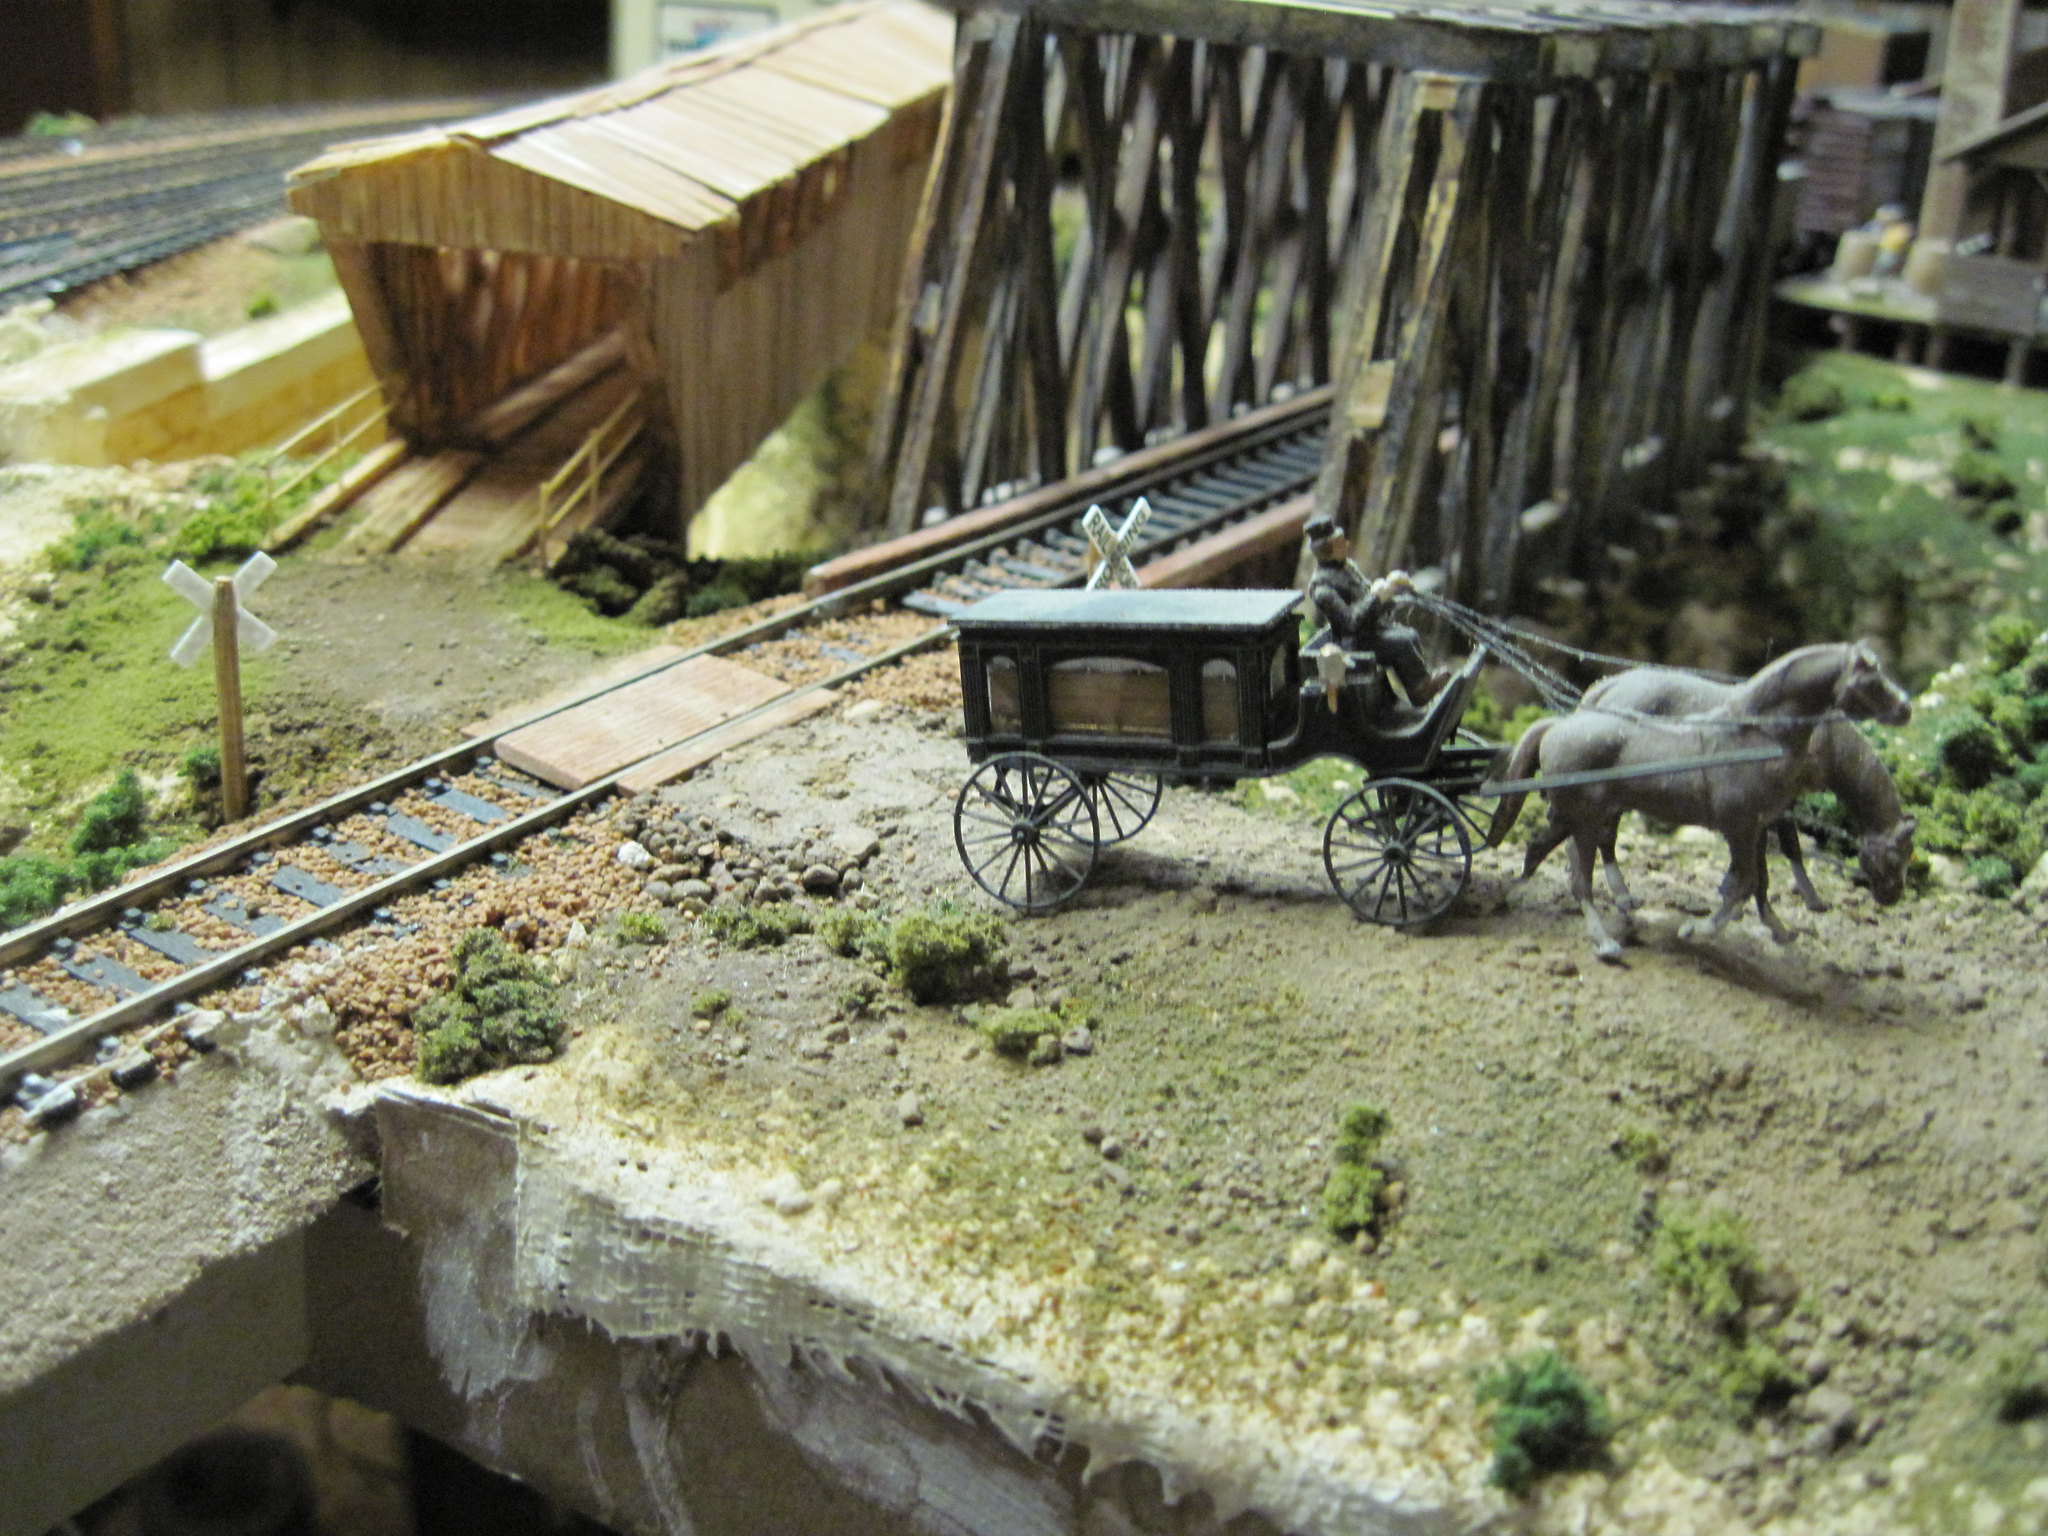
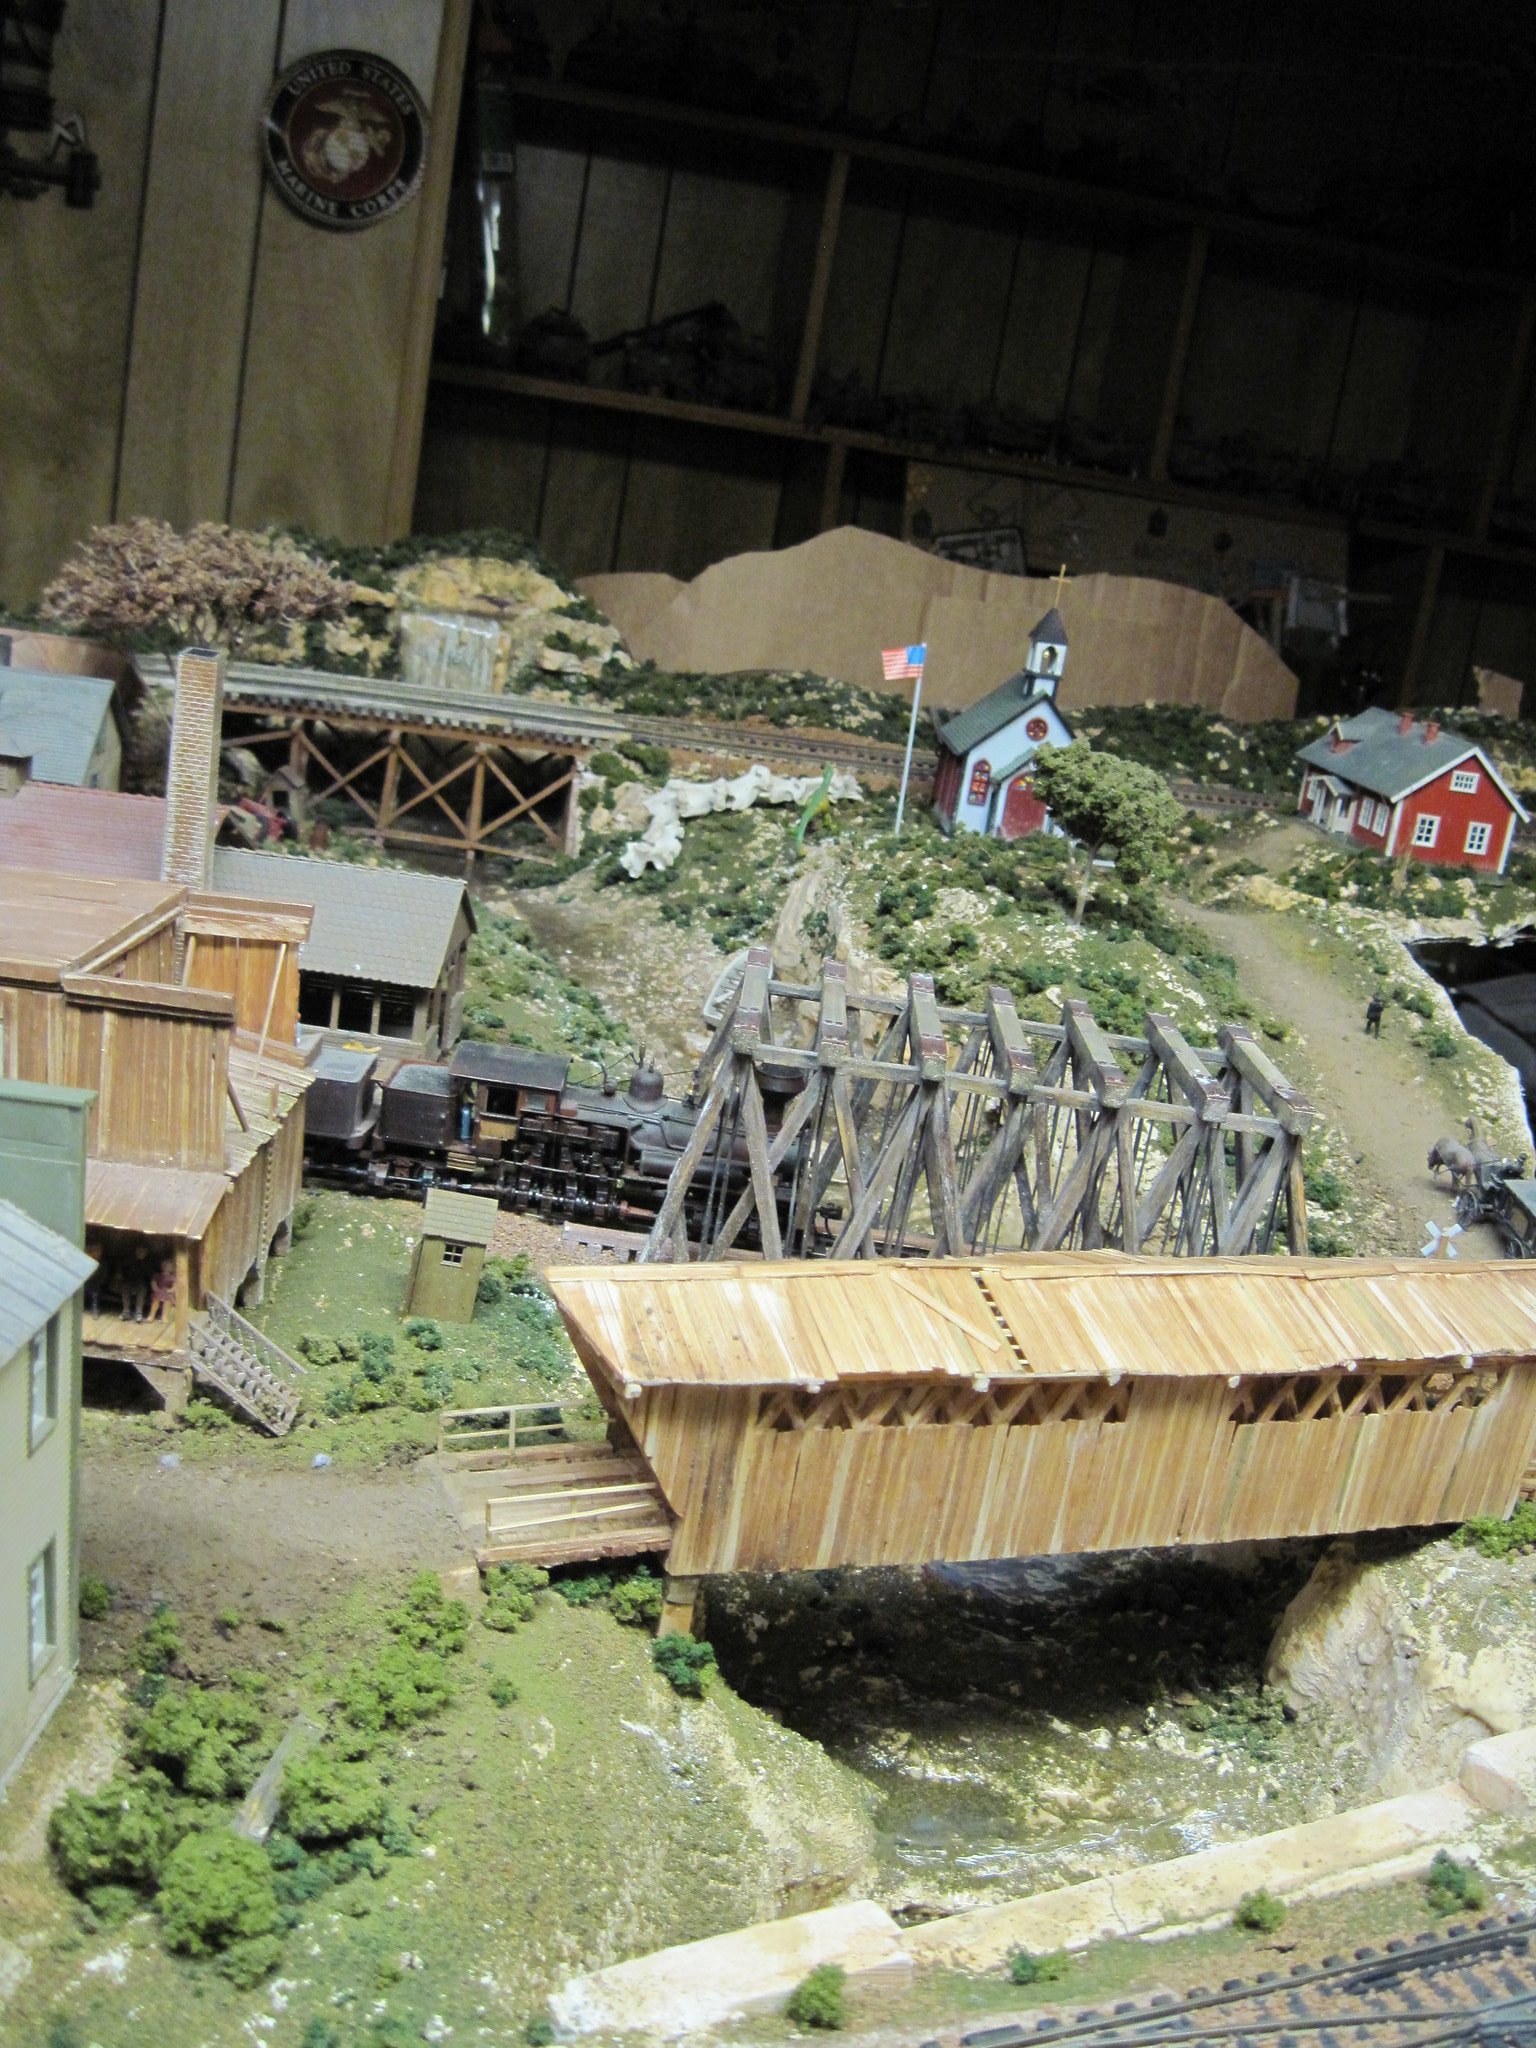
Those sure are some nice looking crossings.

Thanks for the pics.

Ken
#77
HO / Re: Ken's Railroad
November 16, 2020, 06:09:53 PM
I use a mist sprayer with dish detergent and water.  Mist the 'dirt' first with the
soap/water mixture. Then 'flow' on the white glue/water mixture. 
#78
HO / Re: Ken's Railroad
November 16, 2020, 03:06:22 PM
Hey Grump, I use real dirt for my roads.  In the fall or spring (when I till my garden), I usually
have a big coffee can that I fill it about 3/4 full and bring it in the house to dry.  I then break
up the little clods and really shake it up a bit to get it more broken up.  I use a smaller can with
a piece of old window screen stretched over the top to give my "road" a good thick layer of sifted
dirt.  It doesn't matter how wide it is either.  Then I seal it with white glue/water.  Then put
your grasses and vegetation to the edge of the road and seal that.  Once I'm sure everything
is completely dry, (at least a couple of days), I 'scrub' the road with a really stiff 'grill brush'. 
If any little bits of 'dirt' break loose just brush them to the side of the road.

Hope this helps.

Ken
#79
HO / Re: Quick Loco Project
November 15, 2020, 01:18:20 PM
Man, if I tried something like that, I'd end up with a chrome ball
trailer hitch the size of that penny on the draw bar !  Nice work  Jon.

Thanks for the pics.  Beautifully weathered loco by the way.

Ken
#80
HO / Re: Ken's Railroad
November 01, 2020, 01:02:01 PM
Thanks for looking everybody. 

Sid:  A couple of switchers would look interesting.  Or even 0-3-0's !

Ken
#81
HO / Re: Ken's Railroad
October 31, 2020, 04:32:43 PM
Well, after waiting and thinking about it enough, I finally got a 'plan' for my mining area.


The entire mining area will be split-level.


I'm not sure yet of what buildings I'll eventually put there but, for one I know
is that "ore chute" in the middle needs to be 'scaled' down a bit.  Now I have to remove
everything and start on scenery. 


...and one last shot of my newest motive power.  A Pacific Fast Mail 50-ton Vulcan Duplex.


That's it for now, more to follow.

Ken
#82
HO / Re: Jonathan's Layout #3
October 05, 2020, 10:34:03 PM
That last photo gives me an idea.   You know Jonathan, if you had a small logging operation
and had them come in and cut down a couple of those trees, you'd have enough lumber and
space to put in a little country chapel...just sayin'....

Thanks.

Ken
#83
HO / Re: Ken's Railroad
October 04, 2020, 11:54:33 PM
Thanks for the comments guys, Sid, I use real dirt sifted through a window screen
for the road.  Terry, if you'll notice in the sixth picture, the grave digger has a pick axe... 8)
#84
HO / Re: Ken's Railroad
October 04, 2020, 04:45:32 PM
Back again with another up date.  The undertaker needed a place to bury people so I
thought I'd add a cemetery.  The first pic shows where it's going to be installed.


Next, I add sub groundwork with plaster cloth.


Then I added rock outcroppings and stained them with water color.


Finally, I finished it off with ground foam and clump foliage.


Last, but not least, the unpleasant task of 'burying' all the people.


That's it for now.  More to follow...

Ken
#85
HO / Re: Jonathan's Layout #3
September 26, 2020, 02:15:27 PM
Your rocks look great !  One of them molds look familiar.  I use water color for plaster.  It can
just be 'slopped' on and most of the color collects in the recesses. You can always add more
to go darker.  When I like the color I acquired, I use a sponge or tightly folded damp cloth,
and 'buff' the edges.   Sort of like 'dry brushing' in reverse.  It really makes the edges stand out.

Thanks for the pics.

Ken
#86
HO / Re: Ken's Railroad
September 19, 2020, 05:04:44 PM
Here's more of the last 'section' installed.  It took about three days to dry completely.


If you look closely and compare photos from previous installments, you can see where the different
cardboard 'layers' are.
I don't know what I'll do next, but I'm going to have to start wiring underneath before I
put any more topside scenery.

More to follow...

Ken
#87
HO / Re: Ken's Railroad
September 17, 2020, 05:07:05 PM
One of these days I plan to hang a blue sheet or something from the ceiling to appear as
a sky backdrop.  Just don't know how far 'back' I'll have to hang it yet.  Meanwhile I've
worked up another QUADruple thickness backdrop for the next section.  I doubled up at the
bottom, then a single lay, then another layer 'behind' the second and another third layer
behind that.  By 'stepping' the cardboard it givers a more three-dimensional appearance.
Now I just have to let it dry overnight and hope everything doesn't fall off when I
stand it up.


Practice makes better...

...more to follow.

Ken
#88
HO / Re: Ken's Railroad
September 15, 2020, 10:59:46 PM
Here's more.  I started out with a single piece of cardboard cut to shape.


Then, I sprayed it with an adhesive and 'dusted' it with ground foam.


Next, I starting adding layers of 'vegetation' and dead fall.


I kept adding more and more...


...until I thought I had enough.


When it was completely dry, I inserted it back into the 'slots' on my backdrop.


Once installed, I 'piled' more foliage in front of the cardboard to blend it in.


I don't know what my next project will be, but...

more to follow.

Ken
#89
There is no reverse loop created in a figure eight.  The train continues to go in the
same direction.  It does not 'turn around', nor do the wheels switch 'sides'.

HTH

Ken
#90
HO / Re: Ken's Railroad
September 14, 2020, 02:58:32 PM
I finally completely finished the installation by adding a little of 'fill in' and vegetation.


First across...a horse.


...and a little preview of what I'll be working on next.  Lift out back-drop scenery using flat
cardboard.


More to follow.

Ken